https://creativecommons.org/publicdomain/zero/1.0/https://www.rawpixel.com/image/13974221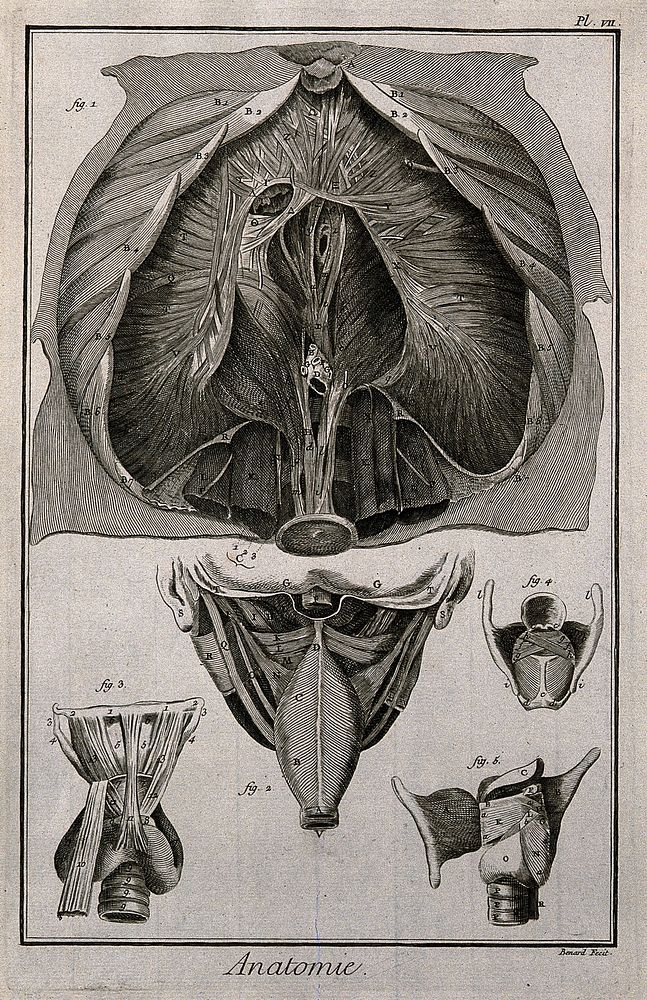
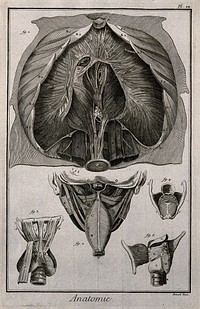
The diaphragm (fig. 1) after Haller, the pharynx, seen from the back and the larynx seen from the front (figs 2-3), after Duverney, and the larynx seen from the back and open and from the side (figs 4-5), after Eustachius. Engraving by Benard, late 18th century.
The diaphragm (fig. 1) after Haller, the pharynx, seen from the back and the larynx seen from the front (figs 2-3), after Duverney, and the larynx seen from the back and open and from the side (figs 4-5), after Eustachius. Engraving by Benard, late 18th century.
Original public domain image from Wellcome Collection
Public DomainFree CC0 image for Personal and Business use